Mt Teide
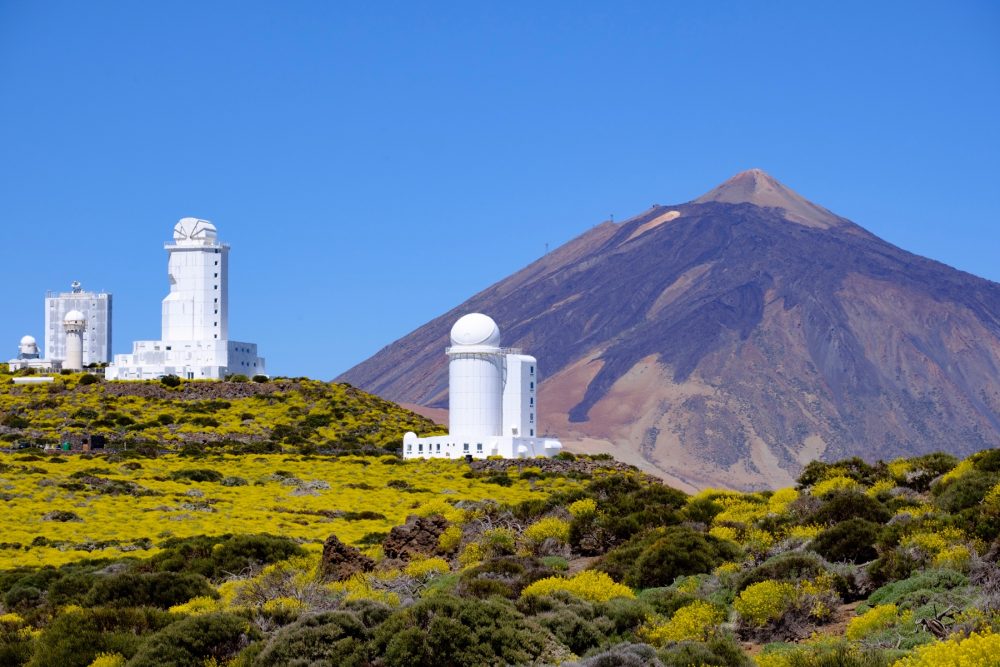
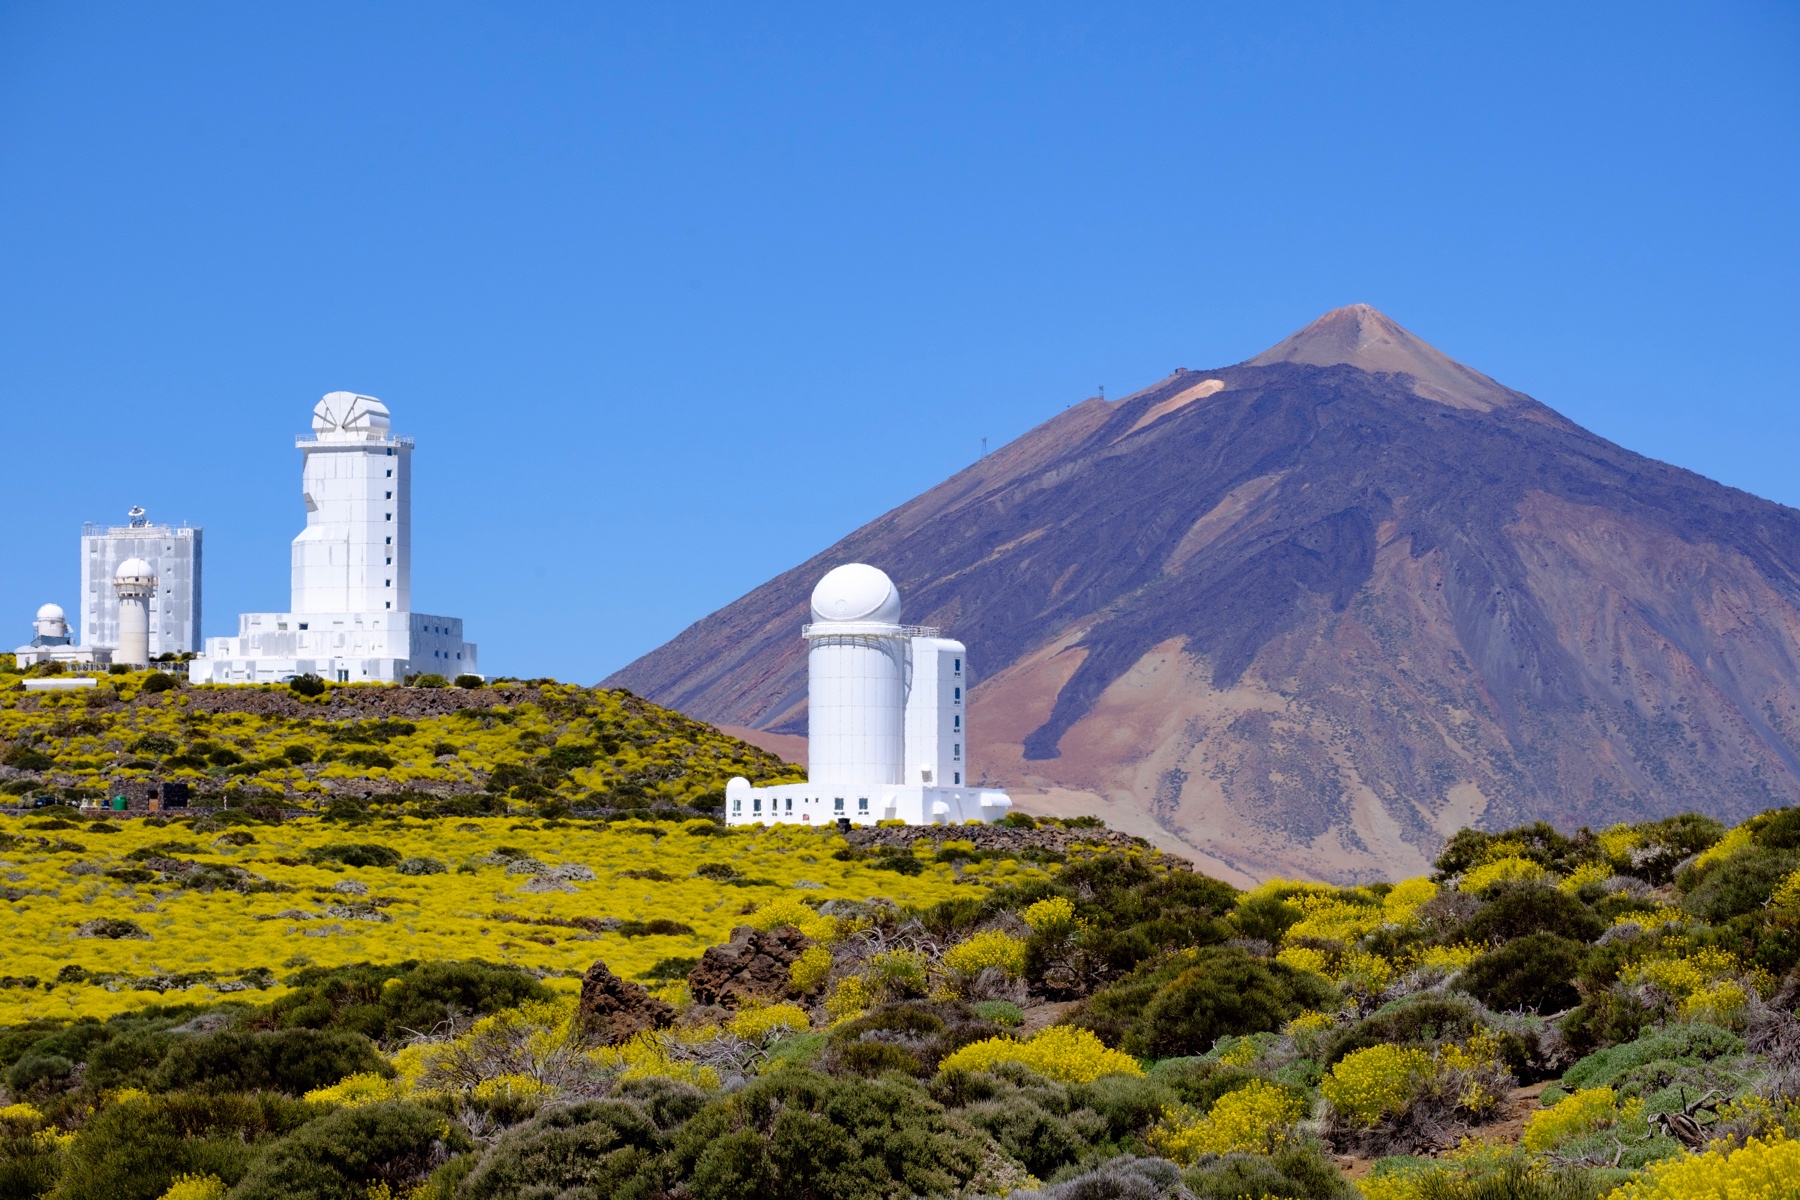
When is the last time you have taken the time to enjoy the night sky and do some star gazing? Probably not as of lately? If not, you should. And you should also bring your camera. Star gazing and astrophotography are activities that can provide you not only with an awesome experience but also some spectacular photographs. However, it has become somewhat difficult to enjoy a really dark night sky. Light pollution from our urban areas is rampant and most people have probably never seen the milky way as a result of that. But there are a few sanctuaries left on this planet. Spain’s highest mountain, the volcano Mt Teide (3718m – 12198ft) and it’s surrounding crater offer some of the best star gazing options in Europe. Last week, I spent two wonderful nights up on the mountain at 2200m (6600ft) to go cycling and to enjoy the night sky.
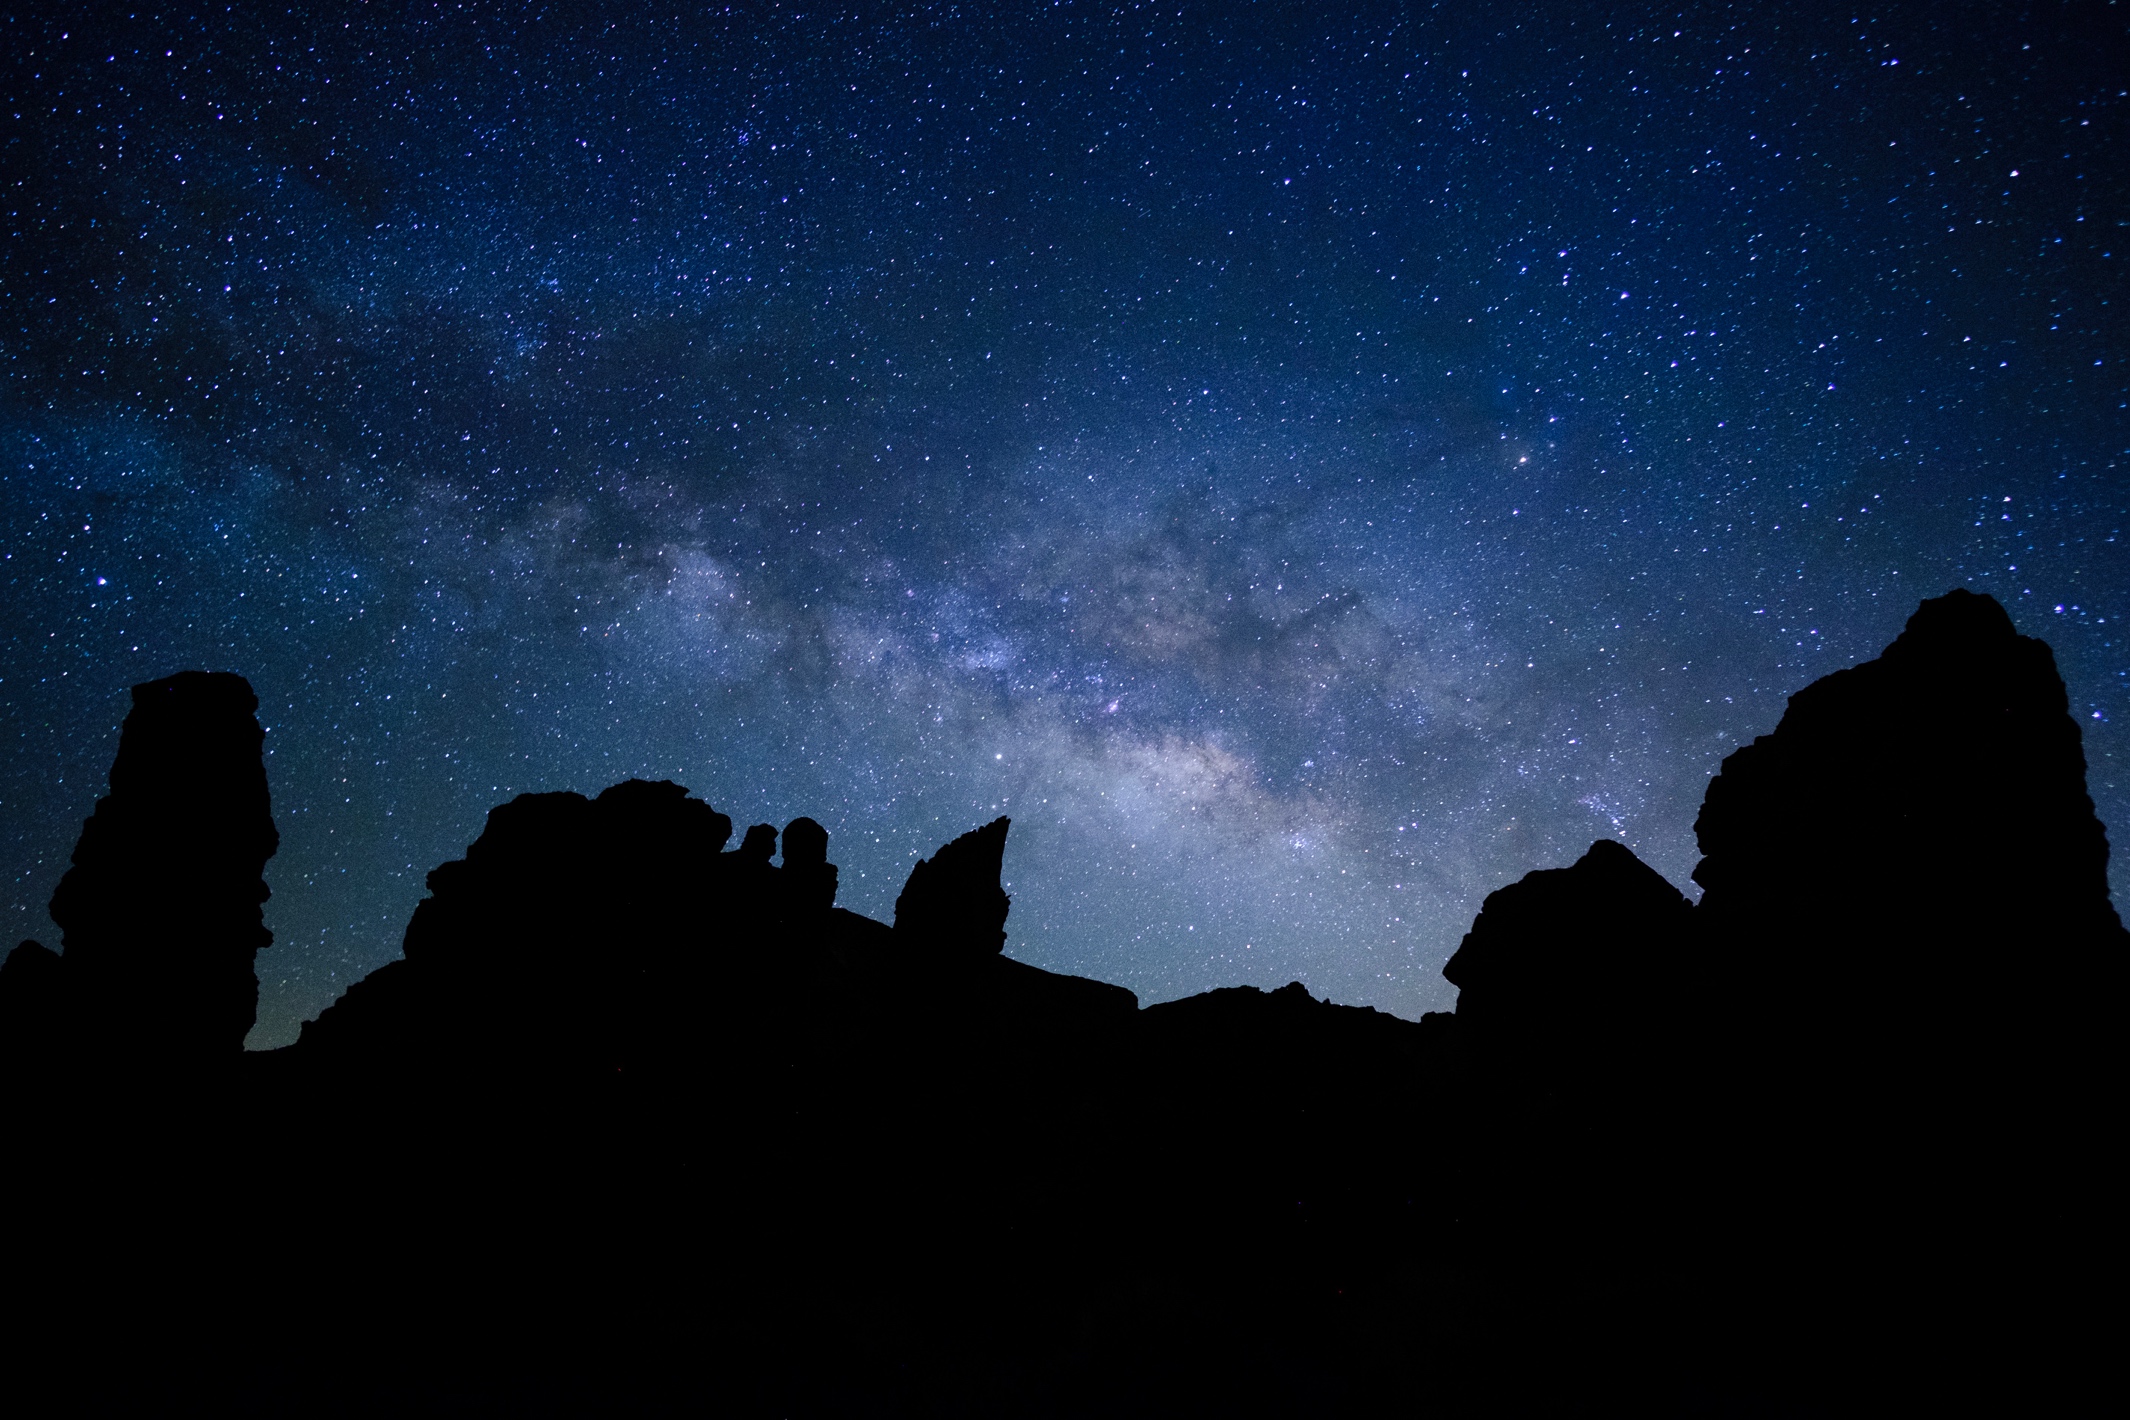
Night sky over the Teide
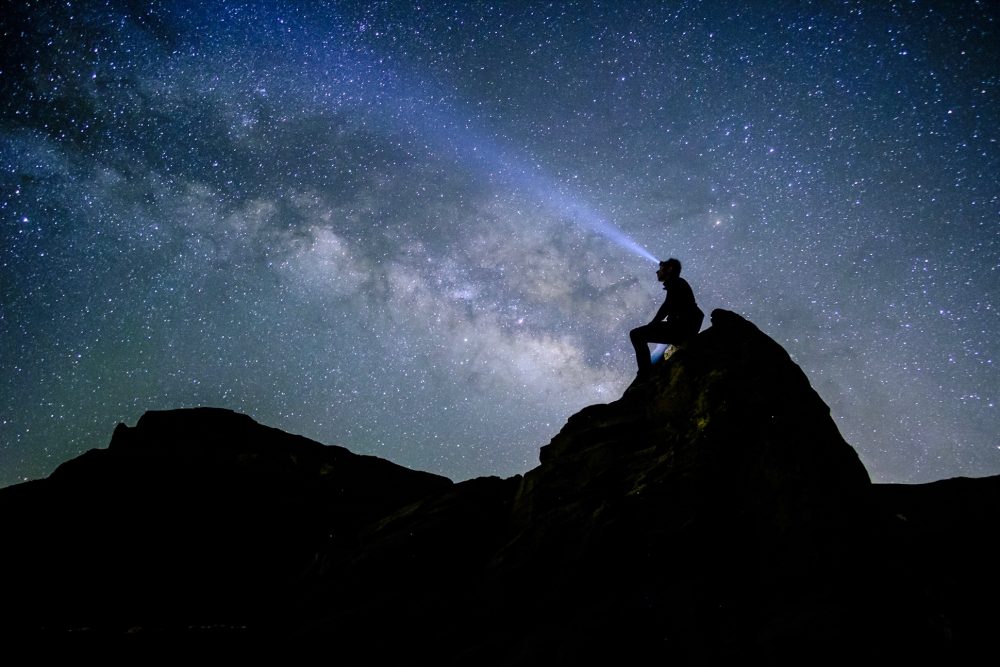
Mt Teide is situated on the beautiful island of Tenerife which is part of the Canary Island archipelago in the Atlantic. The remote location combined with the huge crater of Mt Teide provides a nice shelter from light pollution. Shortly after it gets dark, you can immediately see that the sky is unlike any you have seen lately. It’s just buzzing with sprinkling and blinking stars. Not only that – you can also see satellites and the odd shooting star. It’s truly breathtaking.
Astrophotography
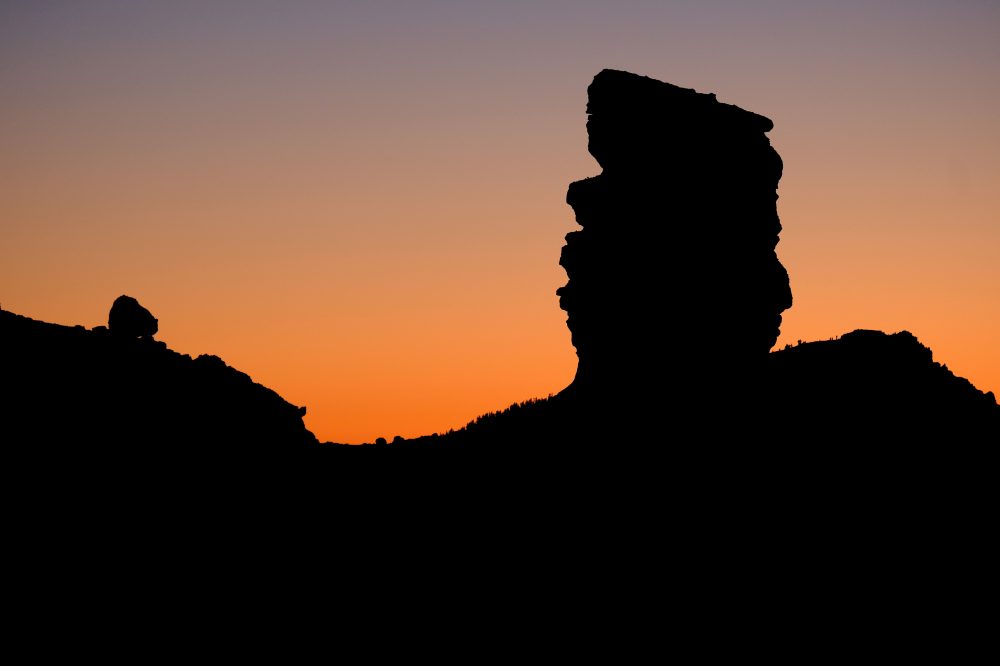
Astrophotography has become one of my favorite fields in photography in recent years. Not only are the potential results worth the effort but the process of taking the photos is special. Being out in complete darkness is meditative to a certain degree. Our natural instincts seem to take over and I find my senses sharpened. You can hear every noise. But it can also get very scary – I won’t deny that the sounds and shadows (mostly caused by my own flashlight) can set you on the edge at times. Speaking of which – a pregnant roaming dog sent me flying on this trip when she suddenly came out of nowhere and started sniffing my feet. It took me a few minutes to re-gain my composure.
Equipment
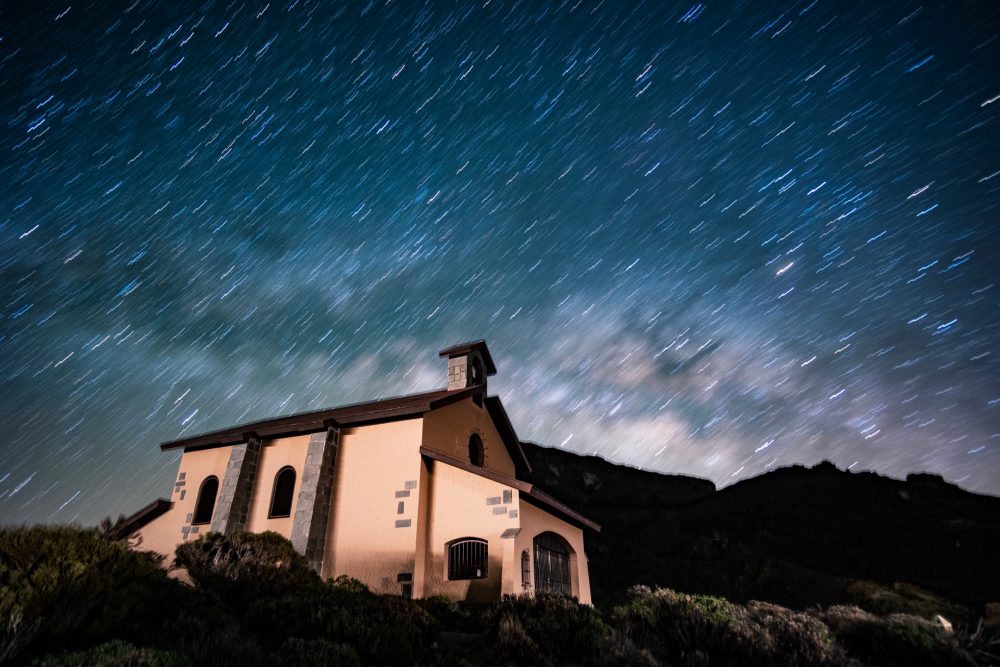
What do you need to capture the skies and potentially the milky way? Not much – any modern DSLR with a light sensitive wide angle and a tripod will do. I use my trusted Fuji X-T2 with the 12mm Samyang f/2.0 or the Samyang 8mm f/2.8. That’s it. This setup works really well for me – it’s a small and very light package. This is important for me at night – the heavier your equipment the more difficult it gets to move around. The lightweight Fuji also allows me to use a more compact tripod (Manfrotto beFree). Also, the external and manual dials of the Fuji X-T2 allow you to easily change settings in the darkness.
Getting the shot
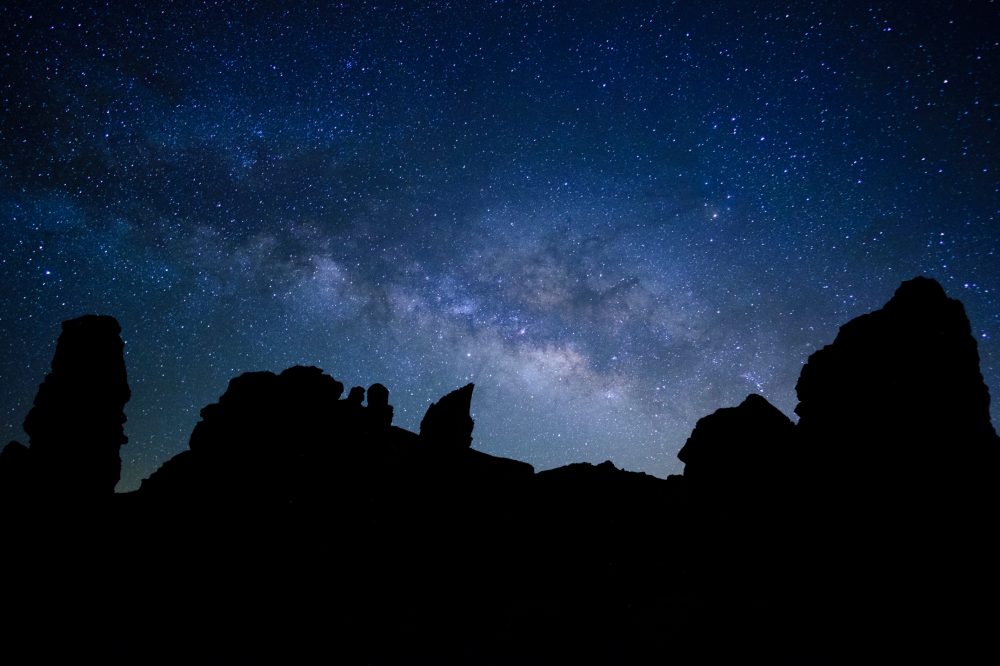
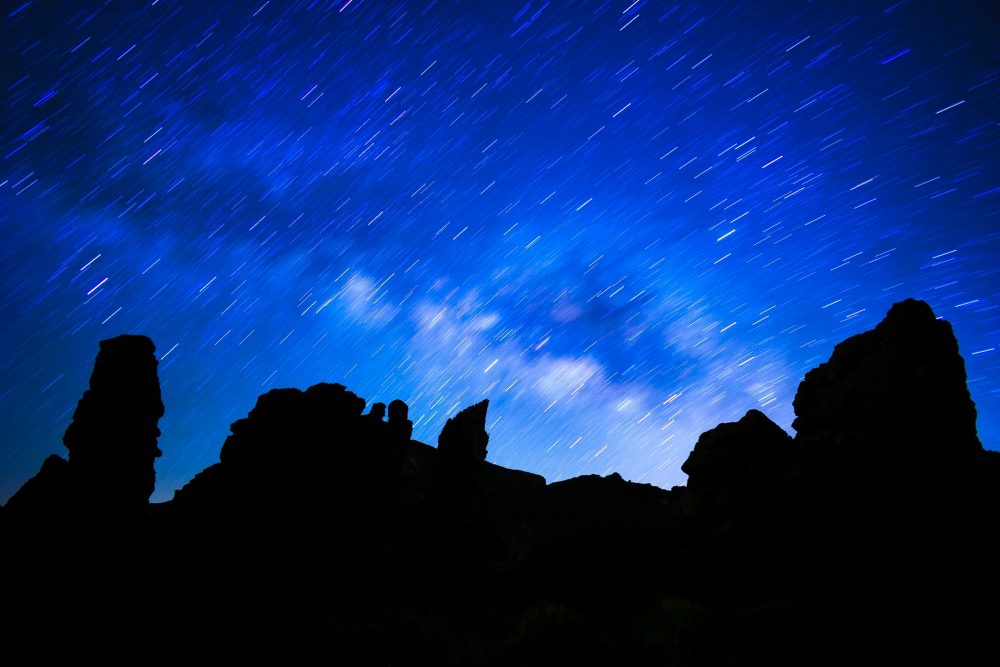
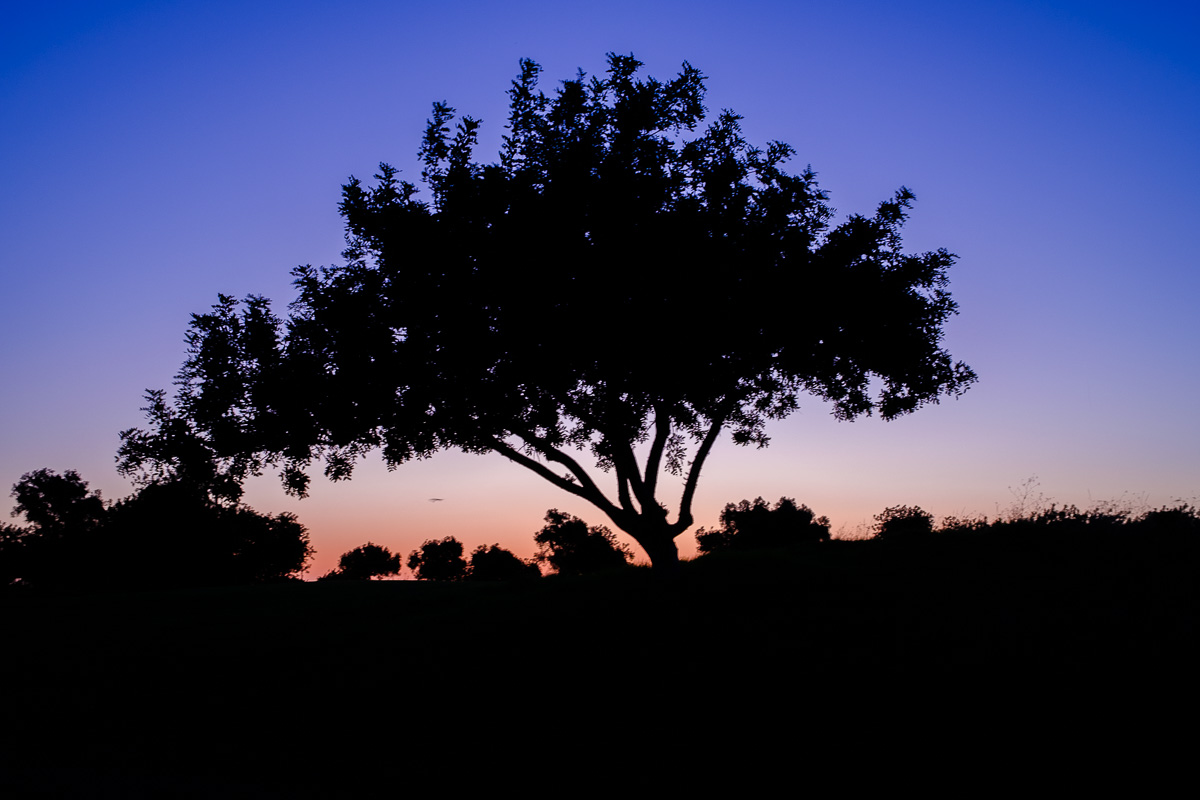
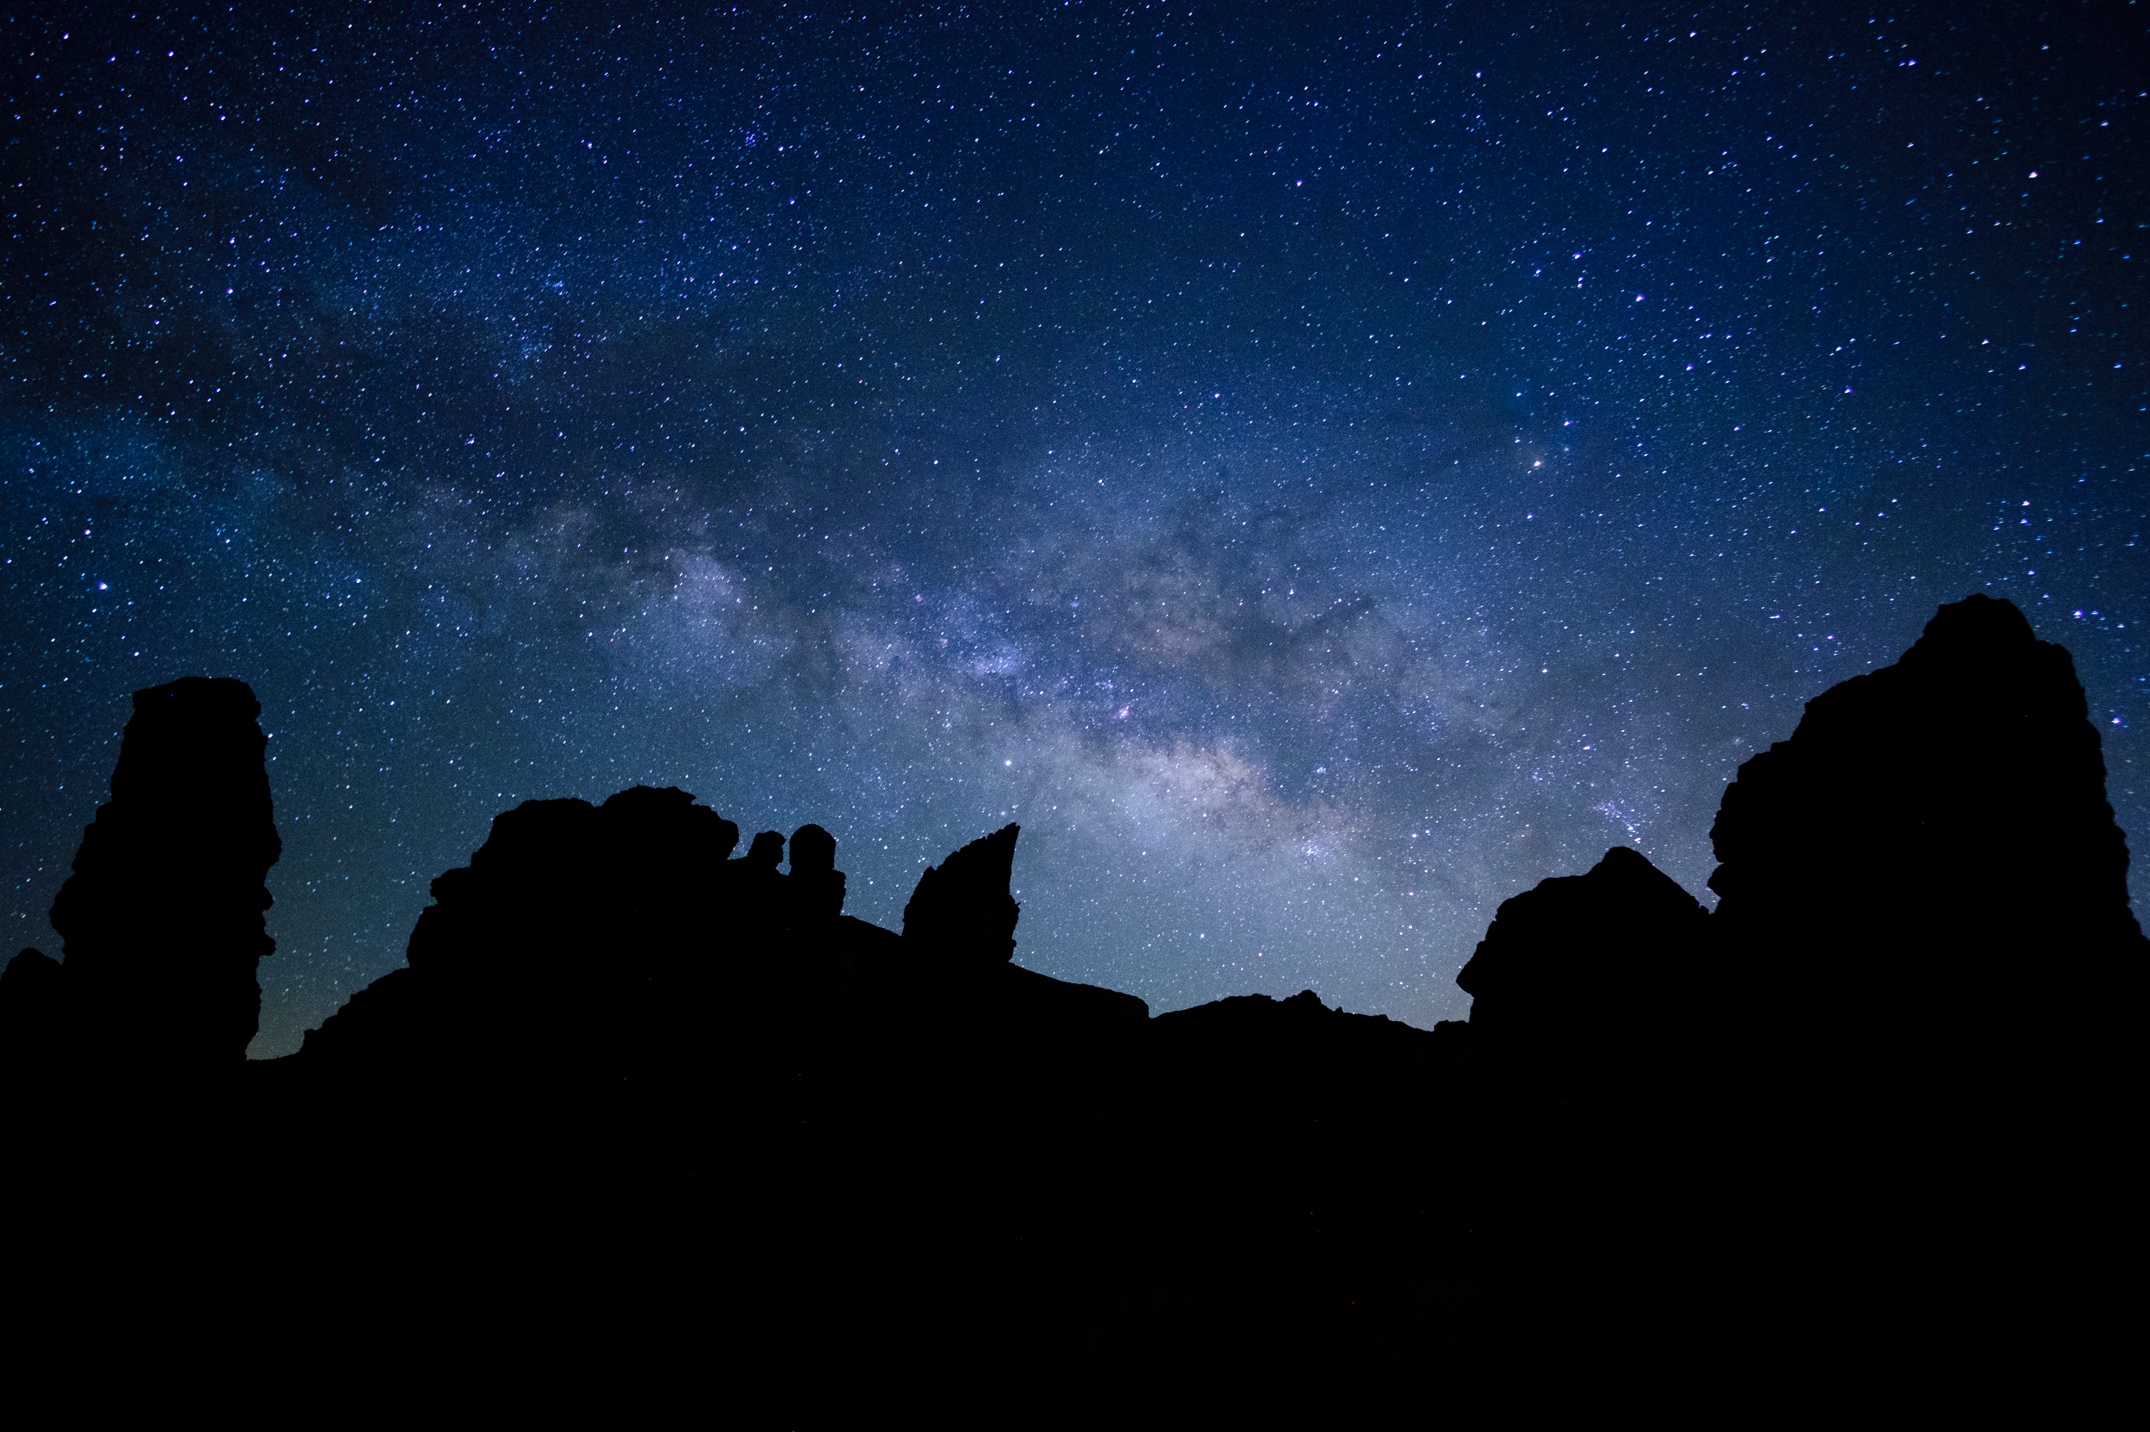
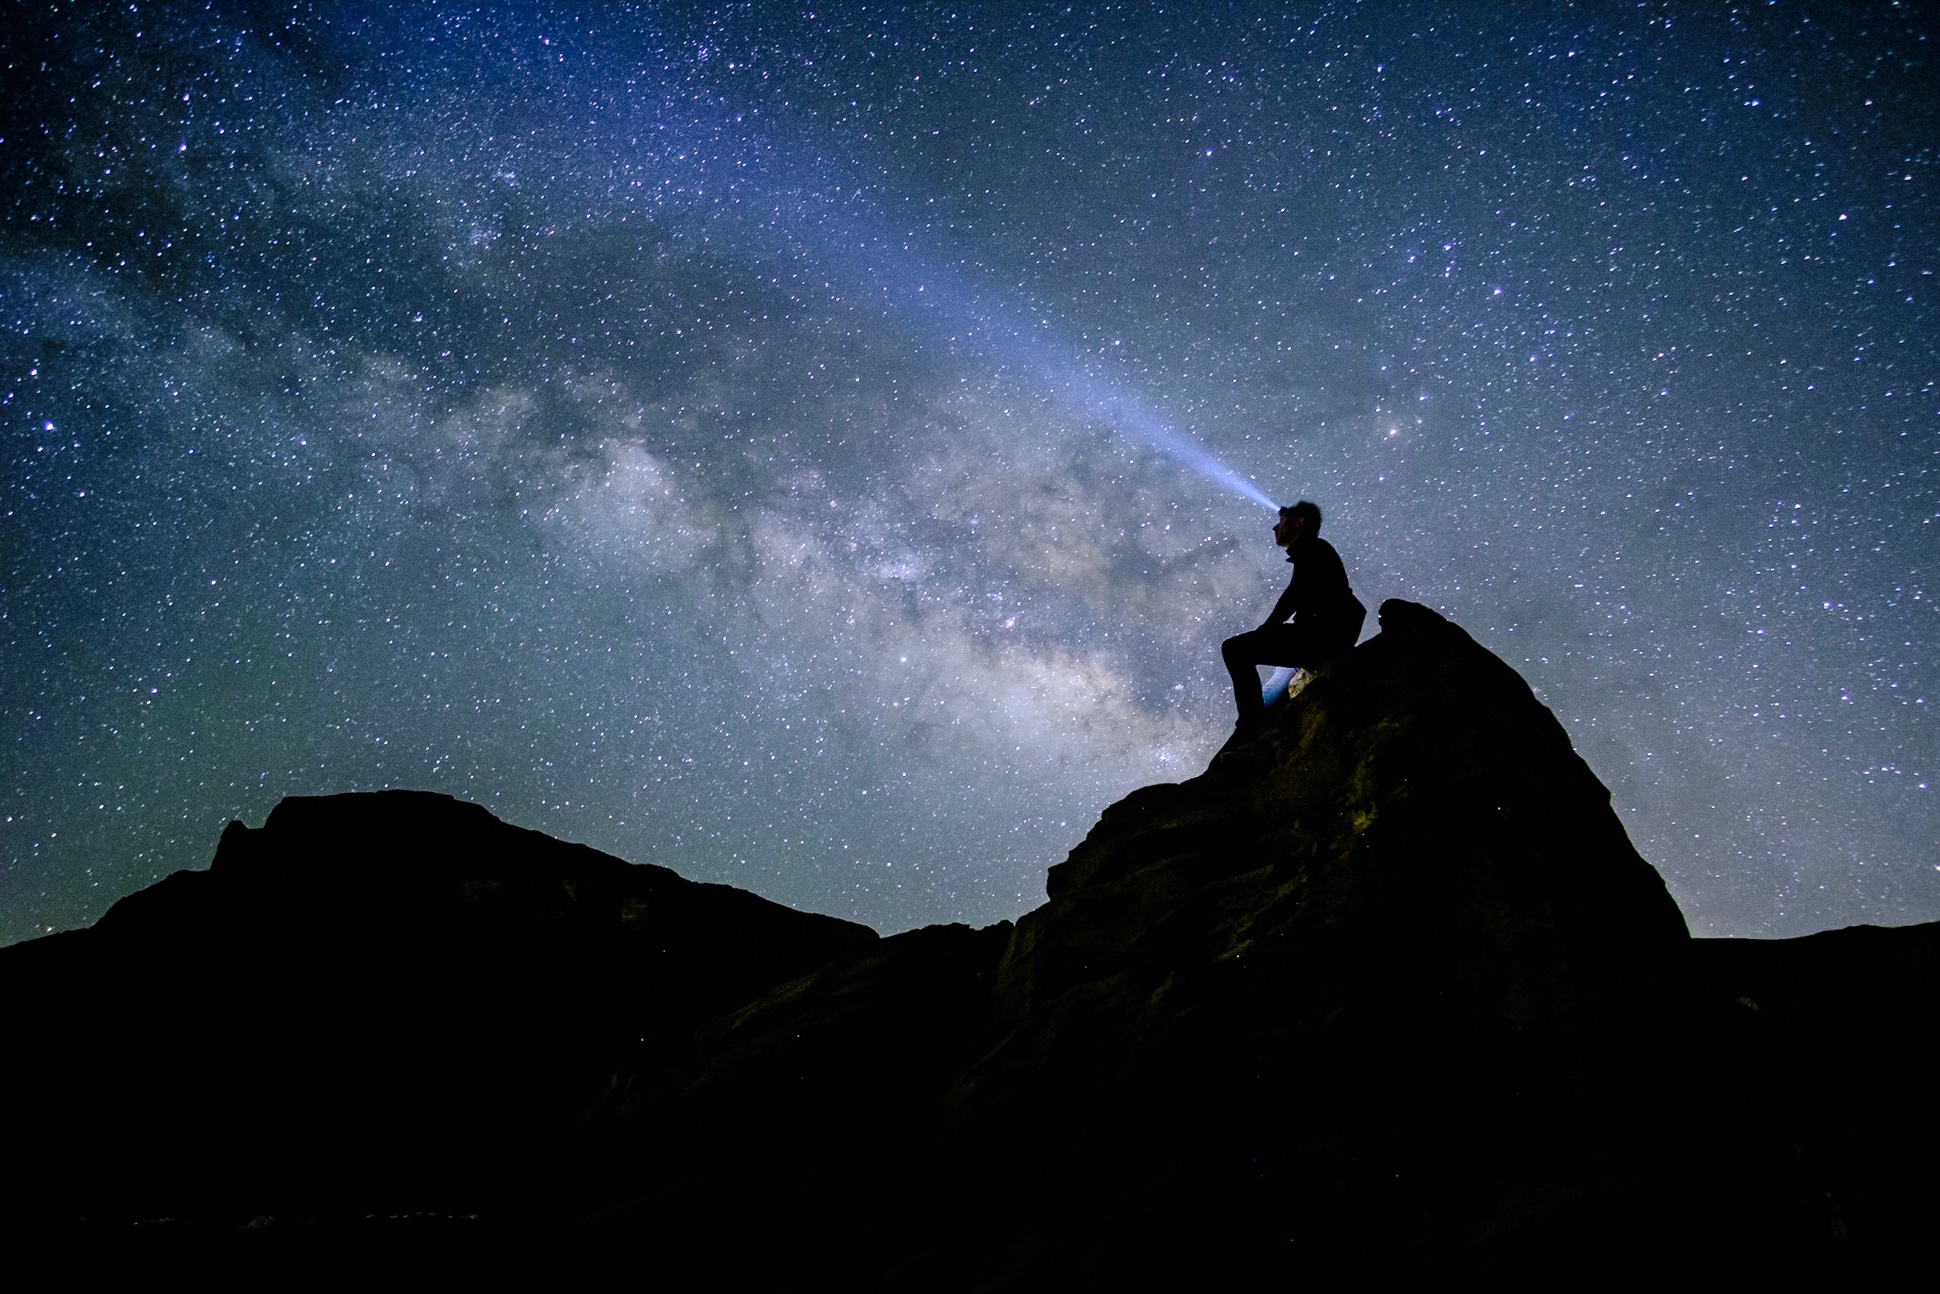
To get a decent photo of the night sky or the milky way, I highly recommend to select an interesting foreground such as a silhoutte, a flower, a building structure etc.. You then need to setup your gear. Getting focus can be tricky but that’s why I love the above mentioned Samyang lenses. They are both manual and wide enough that you can simple set them to 1.5m distance and never touch the focus ring again. I have struggled with other lenses in the past. In terms of settings, I use ISO 3200, f/2.0 at 25s. That’s it. Anything longer than that will blur the stars.
Pro-tip: Scouting
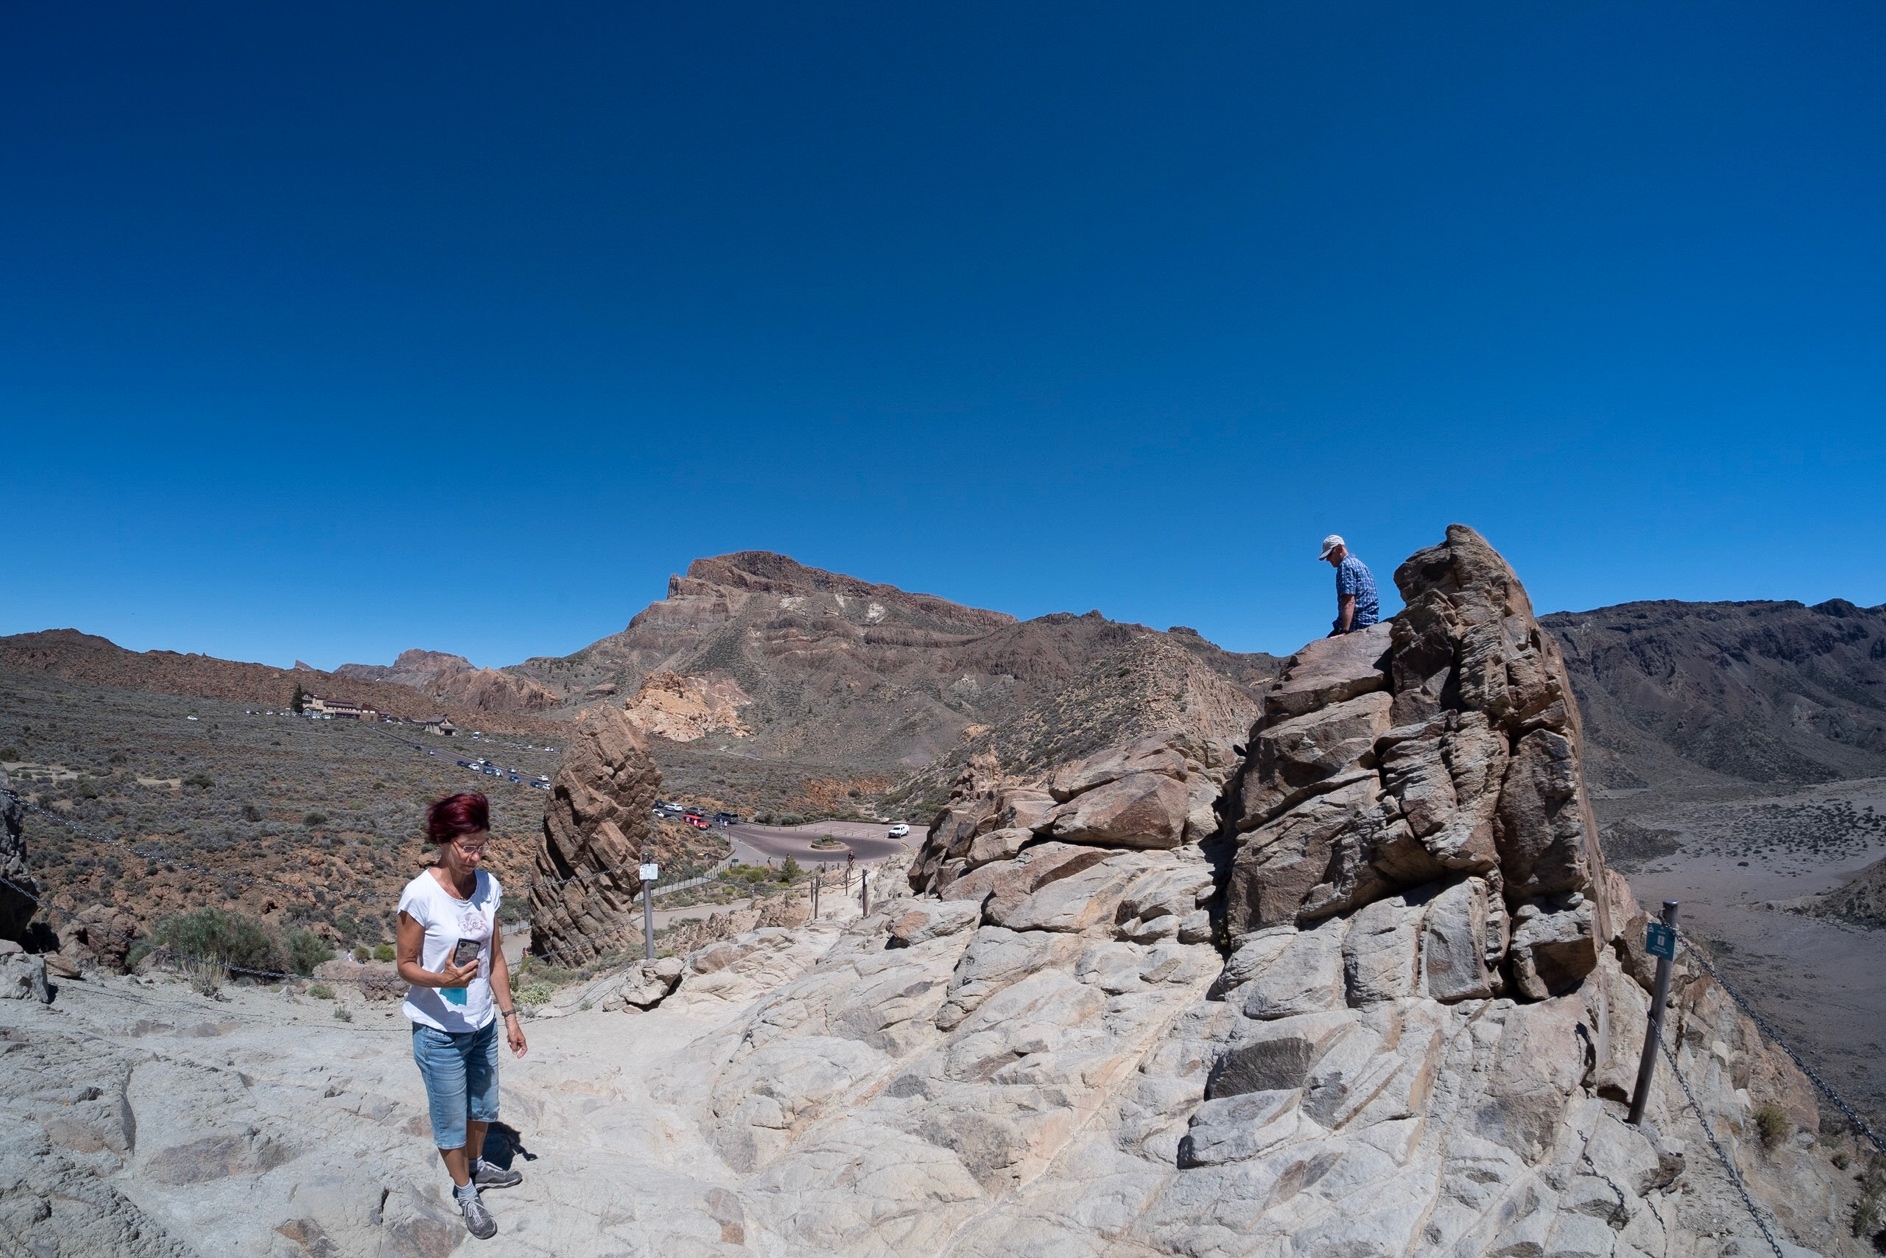
One thing I had to learn the hard way was to scout your location at day time. In the past I would show up at night and expect to find the perfect setup. The reality is different: It can be very time-consuming and potentially dangerous to roam around the wilderness in darkness to find the ideal composition. I therefore invest some time during the day to identify spots for the night. That’s exactly what I did on Mt Teide – the area is especially treacherous at night with all the sharp lava, steep cliffs, high altitude and really low temperatures. My scouting trip led me to different locations where I pre-selected a few angles and found a few Bugloss plants with a decent view of the milky way.
Light-painting
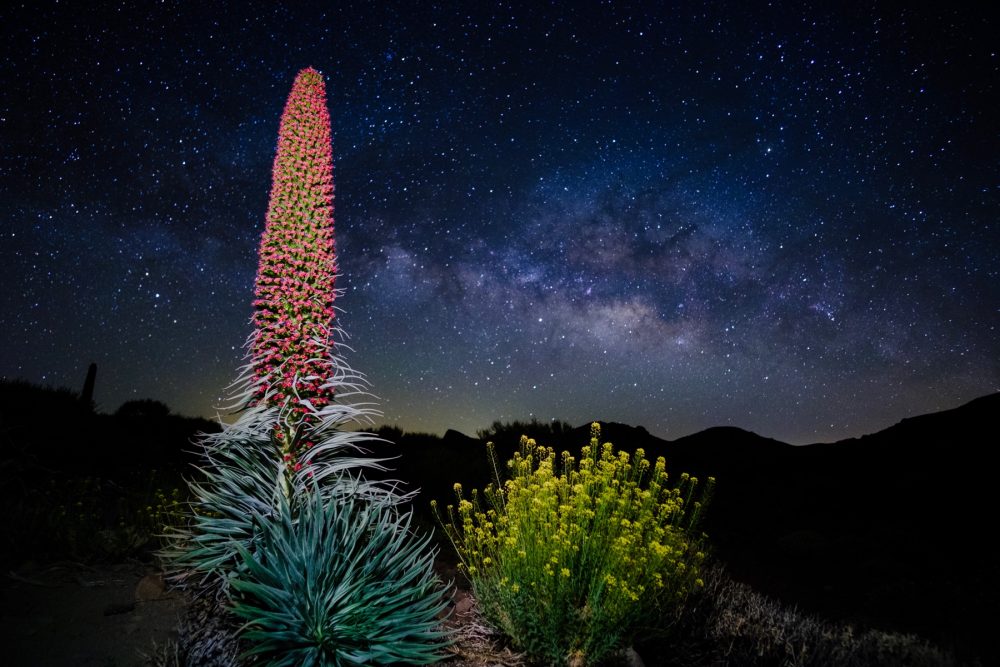
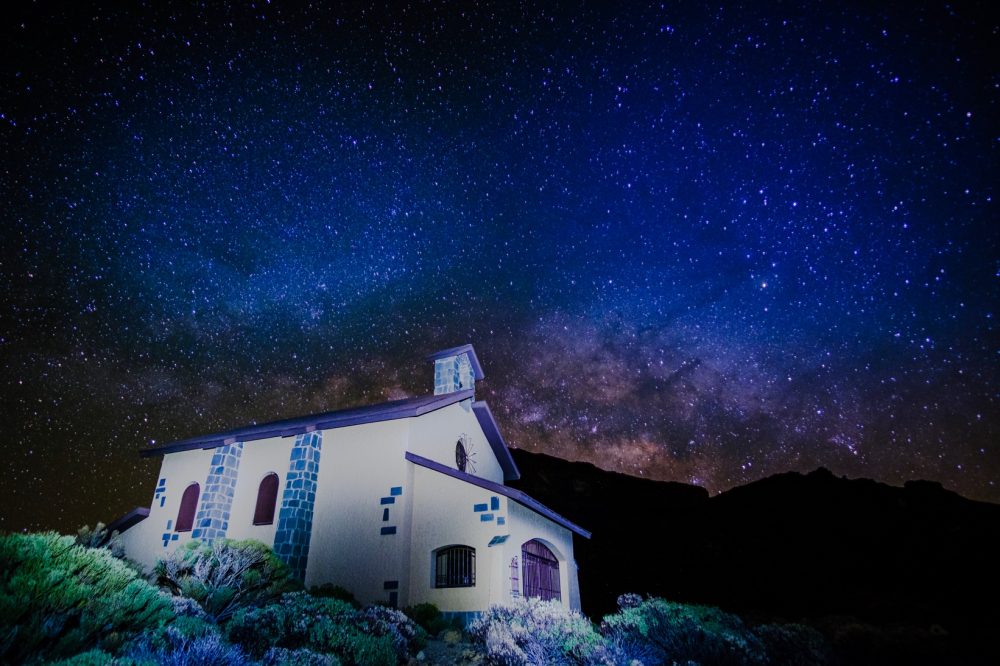
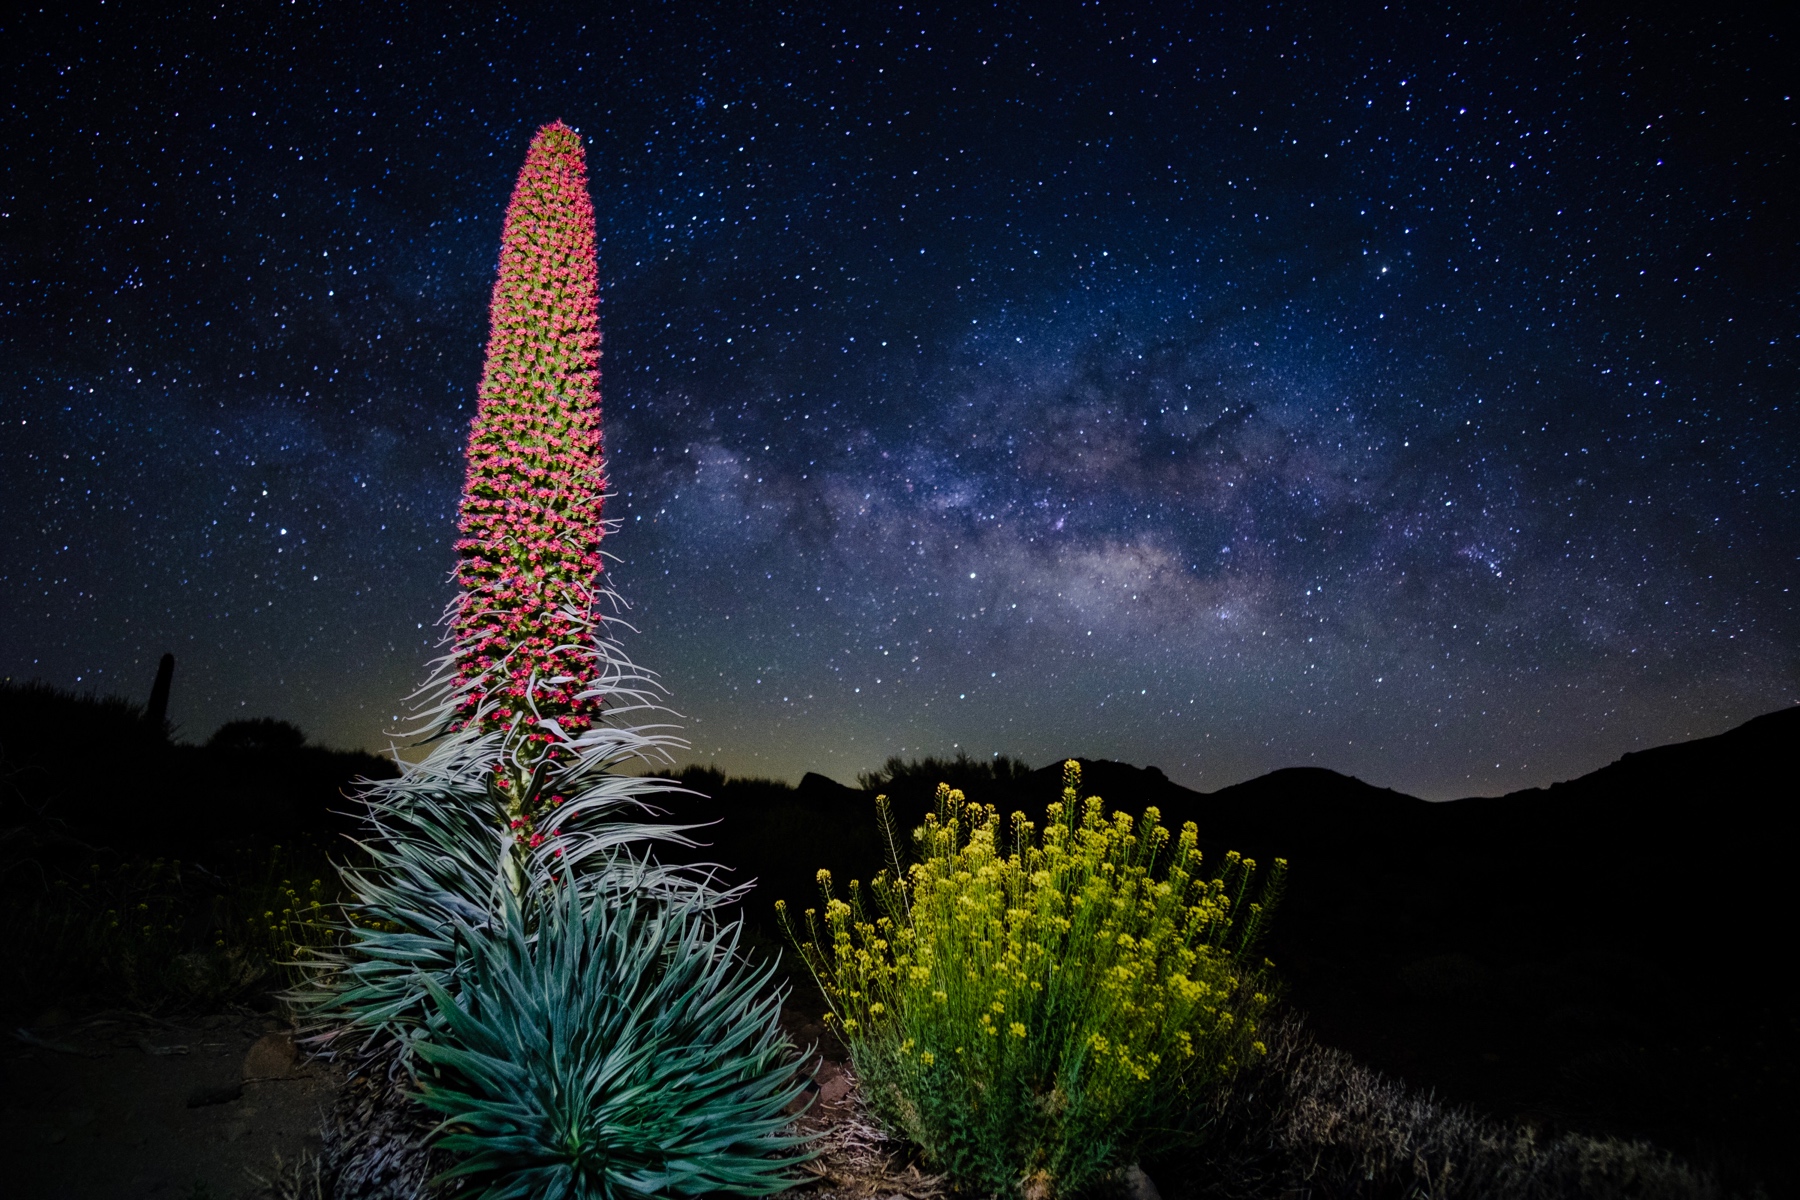
Unless you want a silhouette in the foreground, you should also be prepared for some light painting. I used my iPhone screen (not the flashlight) to gently illuminate the gorgeous Teide Bugloss (that tall enigmatic red flower) below (15 seconds). A regular flashlight comes in handy when you have larger surfaces or objects that are further away (like the chapel in the photo above). It’s definitely a good idea to experiment. There is nothing worse than returning from a long night out only to discover that your flashlight was too strong/ weak.
The Mt Teide experience
Visiting Mt Teide at night (and day) is an awesome experience that I cannot recommend highly enough. It’s hard work to get good results – the cold winds up there drove me crazy one night. But it’s more than worth the effort. My beloved Fuji X-T2 once again did not disappoint and delivered great results. Enjoy the galar(x)y and do let me know if you have questions.
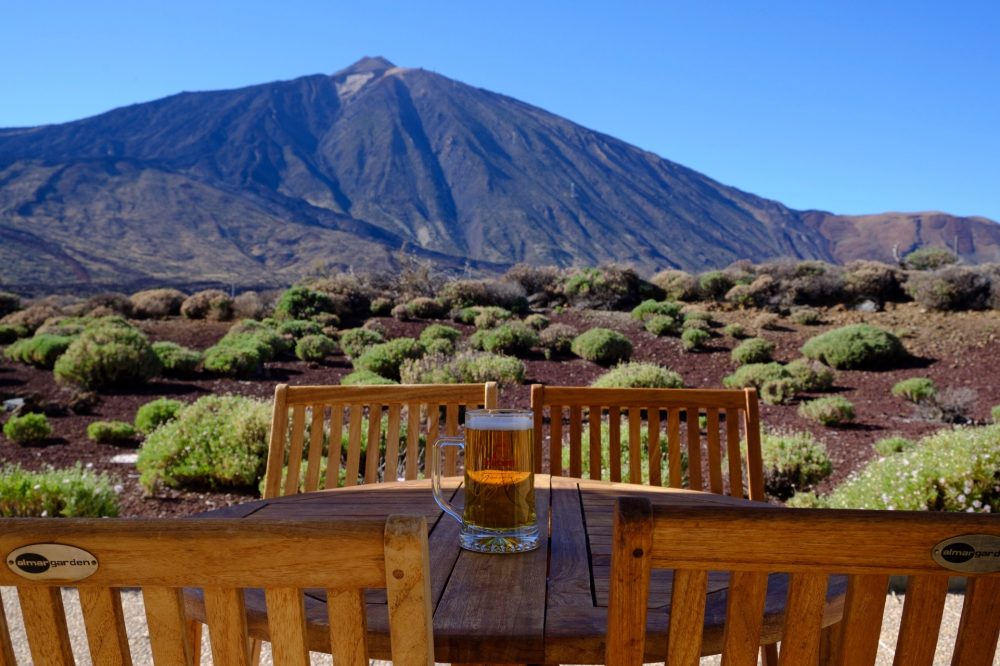
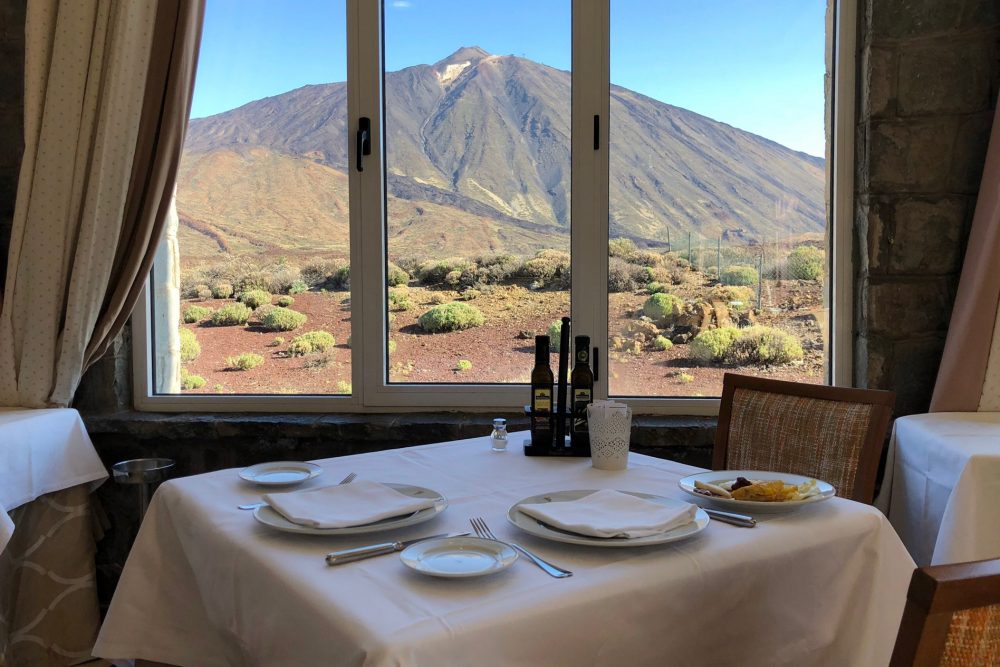
Update: Some have asked for a hotel recommendation. I stayed at the wonderful Parador Hotel in the crater of Mt Teide. The best location for cycling, hiking, star gazing and simply relaxing. Great staff & also great food. But be aware: The hotel is located at 2200m. I have included two photos in the galary
If you want to learn more about astrophotography I can recommend the following reading:
Lonely Speck – 8 Things I learned about Astrophotography
